Paneer salad is a flavorful vegetarian salad from India. This vibrant salad is filling enough to be served as a meal too. Loaded with sauteed paneer, crunchy vegetables, nuts, and a green chutney dressing bursting with flavors, this salad will become your favorite.
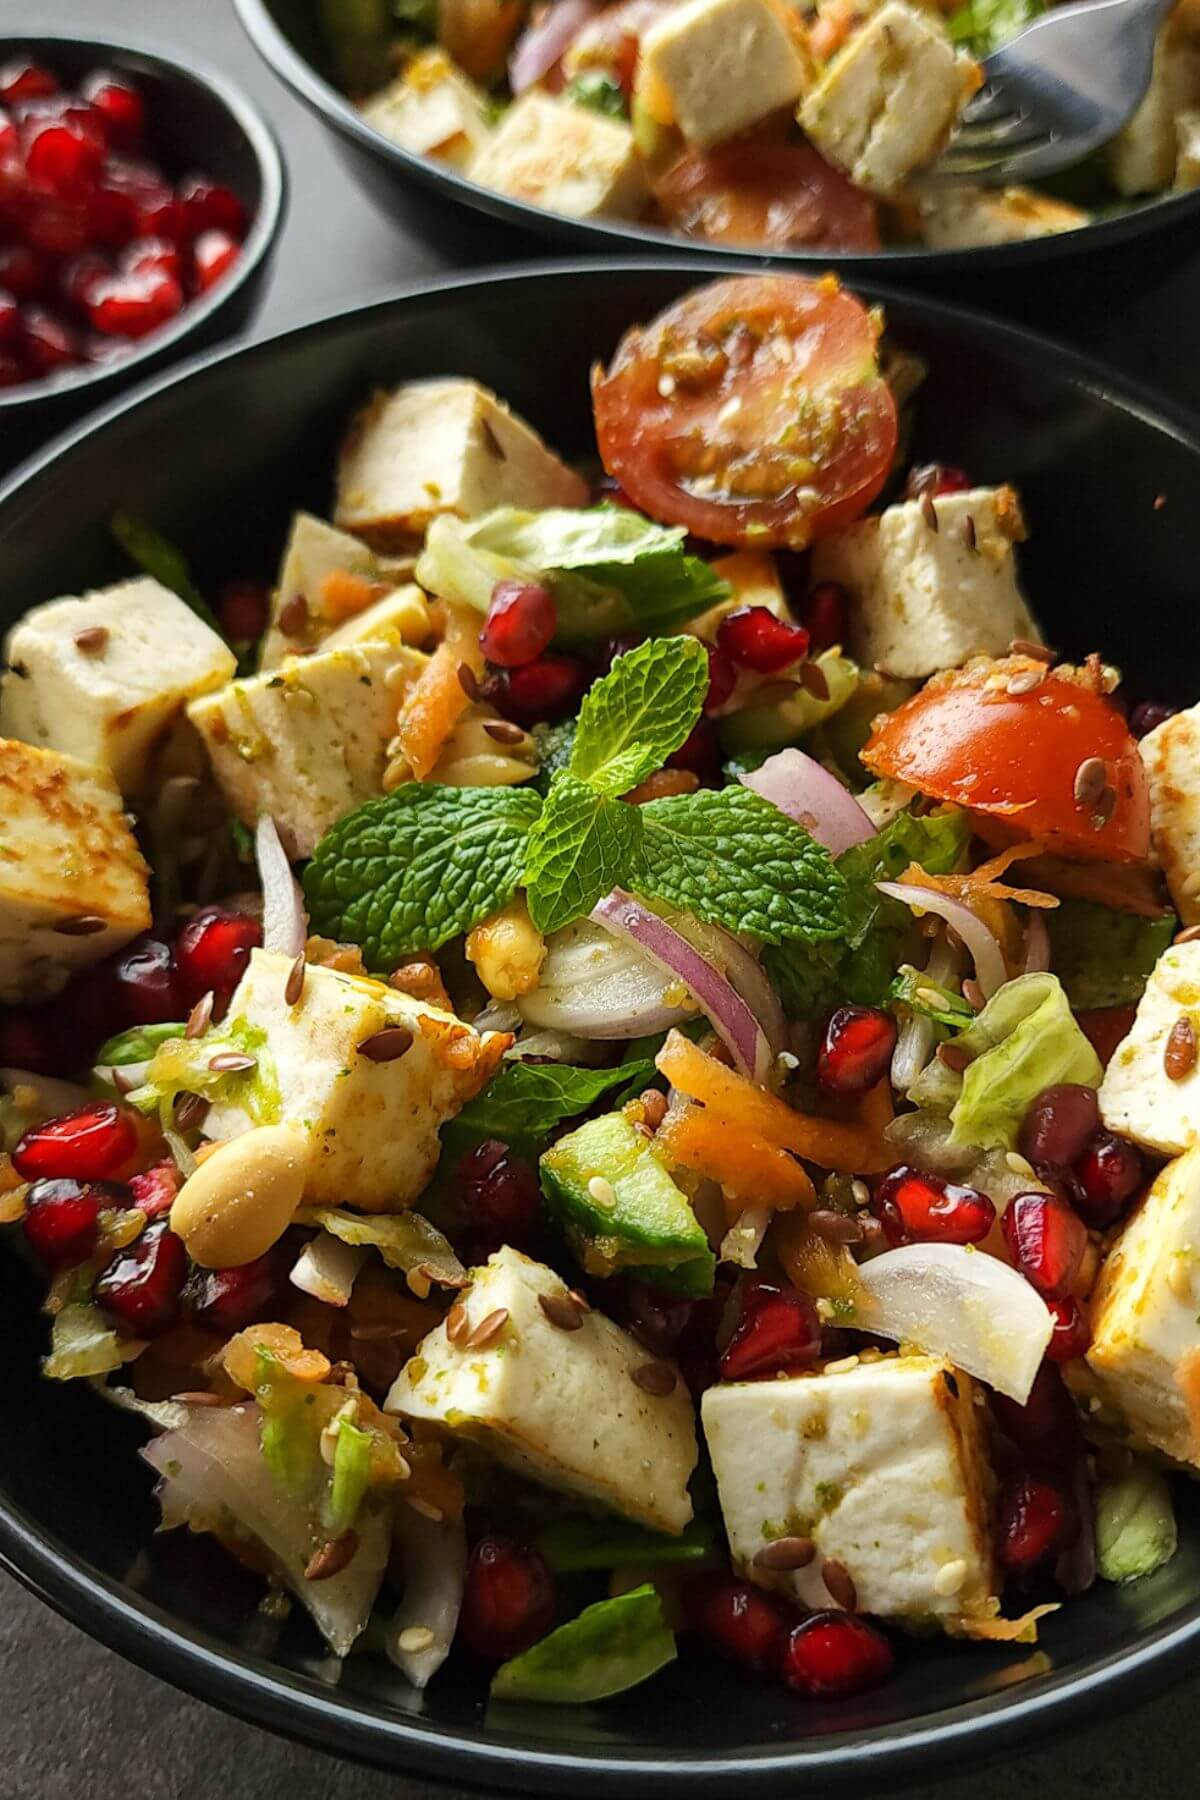
A salad doesn't need to be a naive side dish dominated by the main course dishes. If prepared properly, it could also become the highlight of a meal.
Like this paneer salad from India. This vegetarian salad is loaded with a lot of delicious ingredients that complement each other.
It's so filling that you can enjoy it as a meal too.
What's paneer?
Paneer is a non-melting and non-aged cheese that is made by curdling milk with an acidic ingredient like lime juice or vinegar. The curdled milk is then separated from the whey by straining. It is then pressed for a few hours to give it a firm and compact shape.
It's one of the most popular vegetarian ingredients in the Indian cuisine.
What's needed to make paneer salad?
To simplify things, I have divided the ingredients needed to make sauteed paneer salad into three sections:
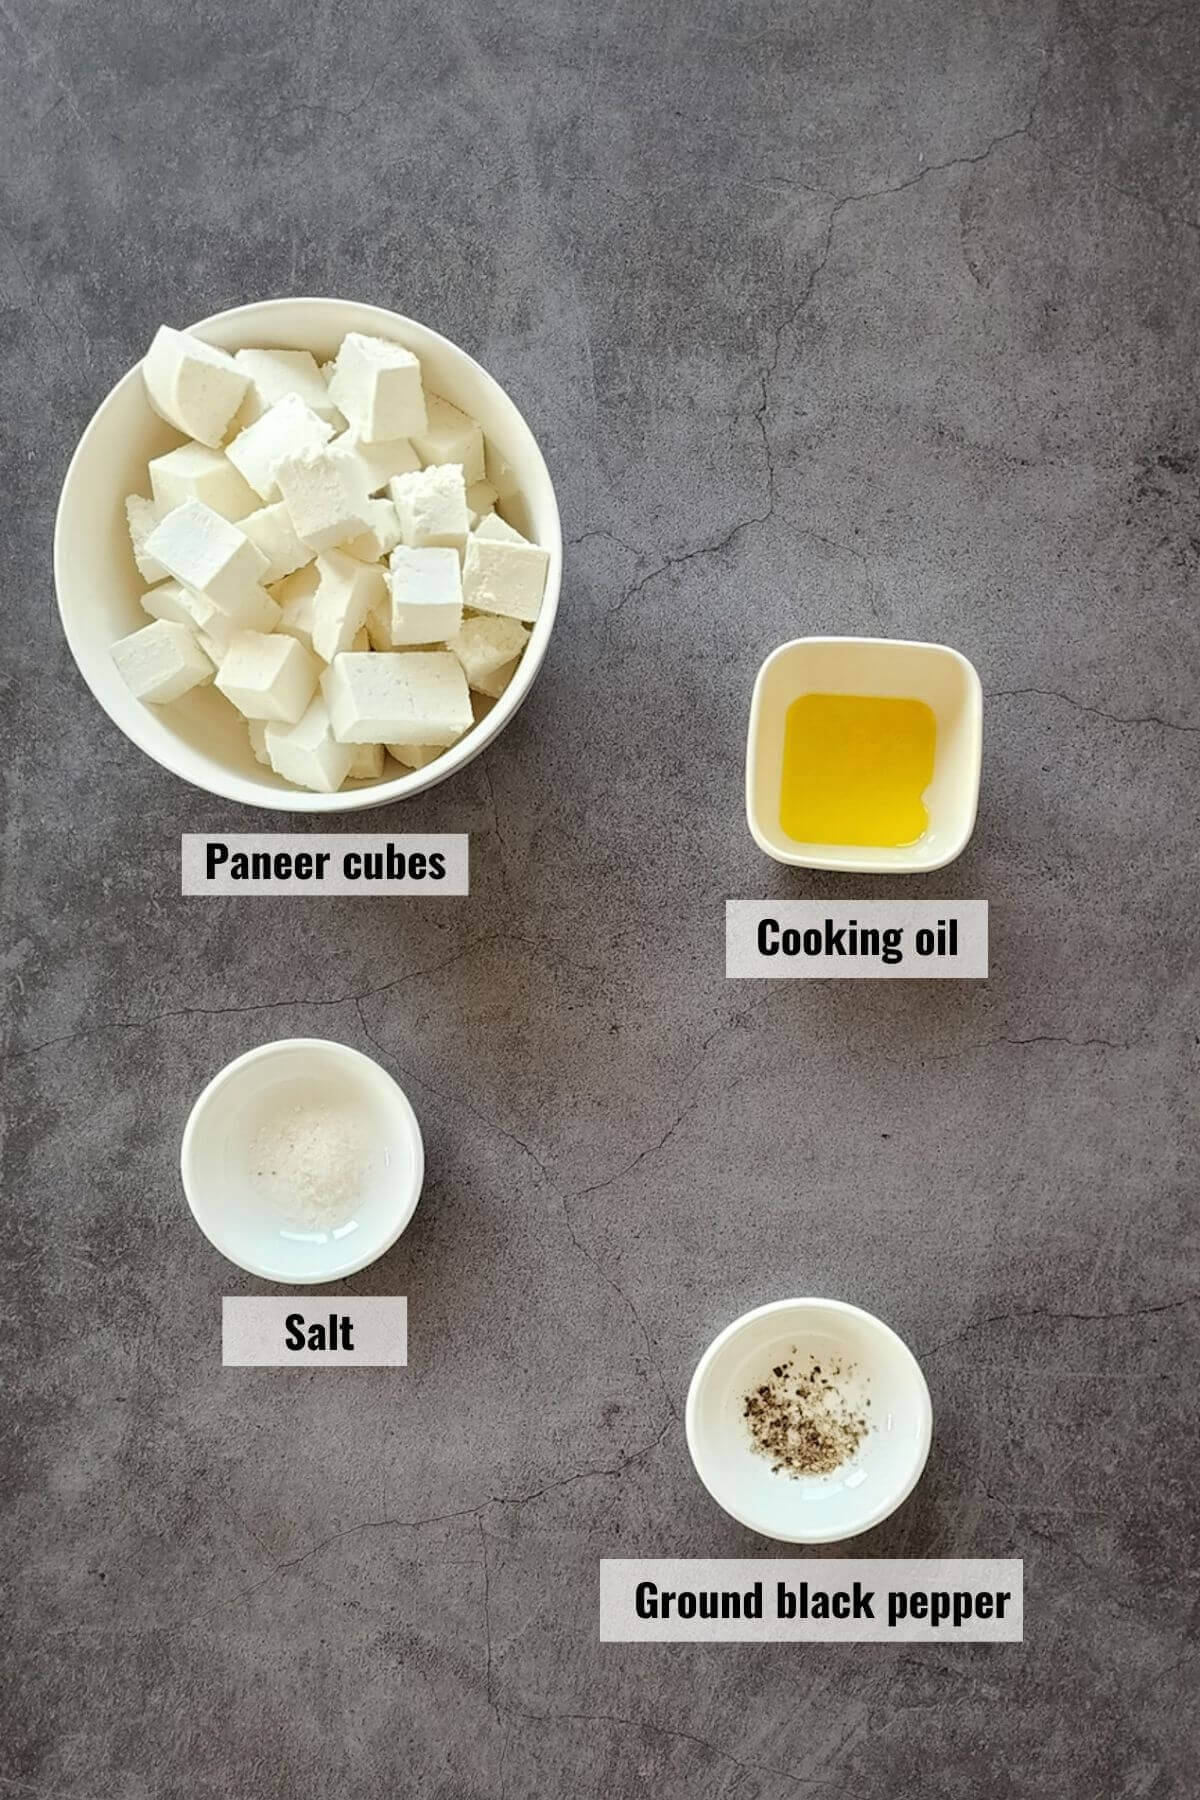
1. Ingredients needed to saute paneer cubes:
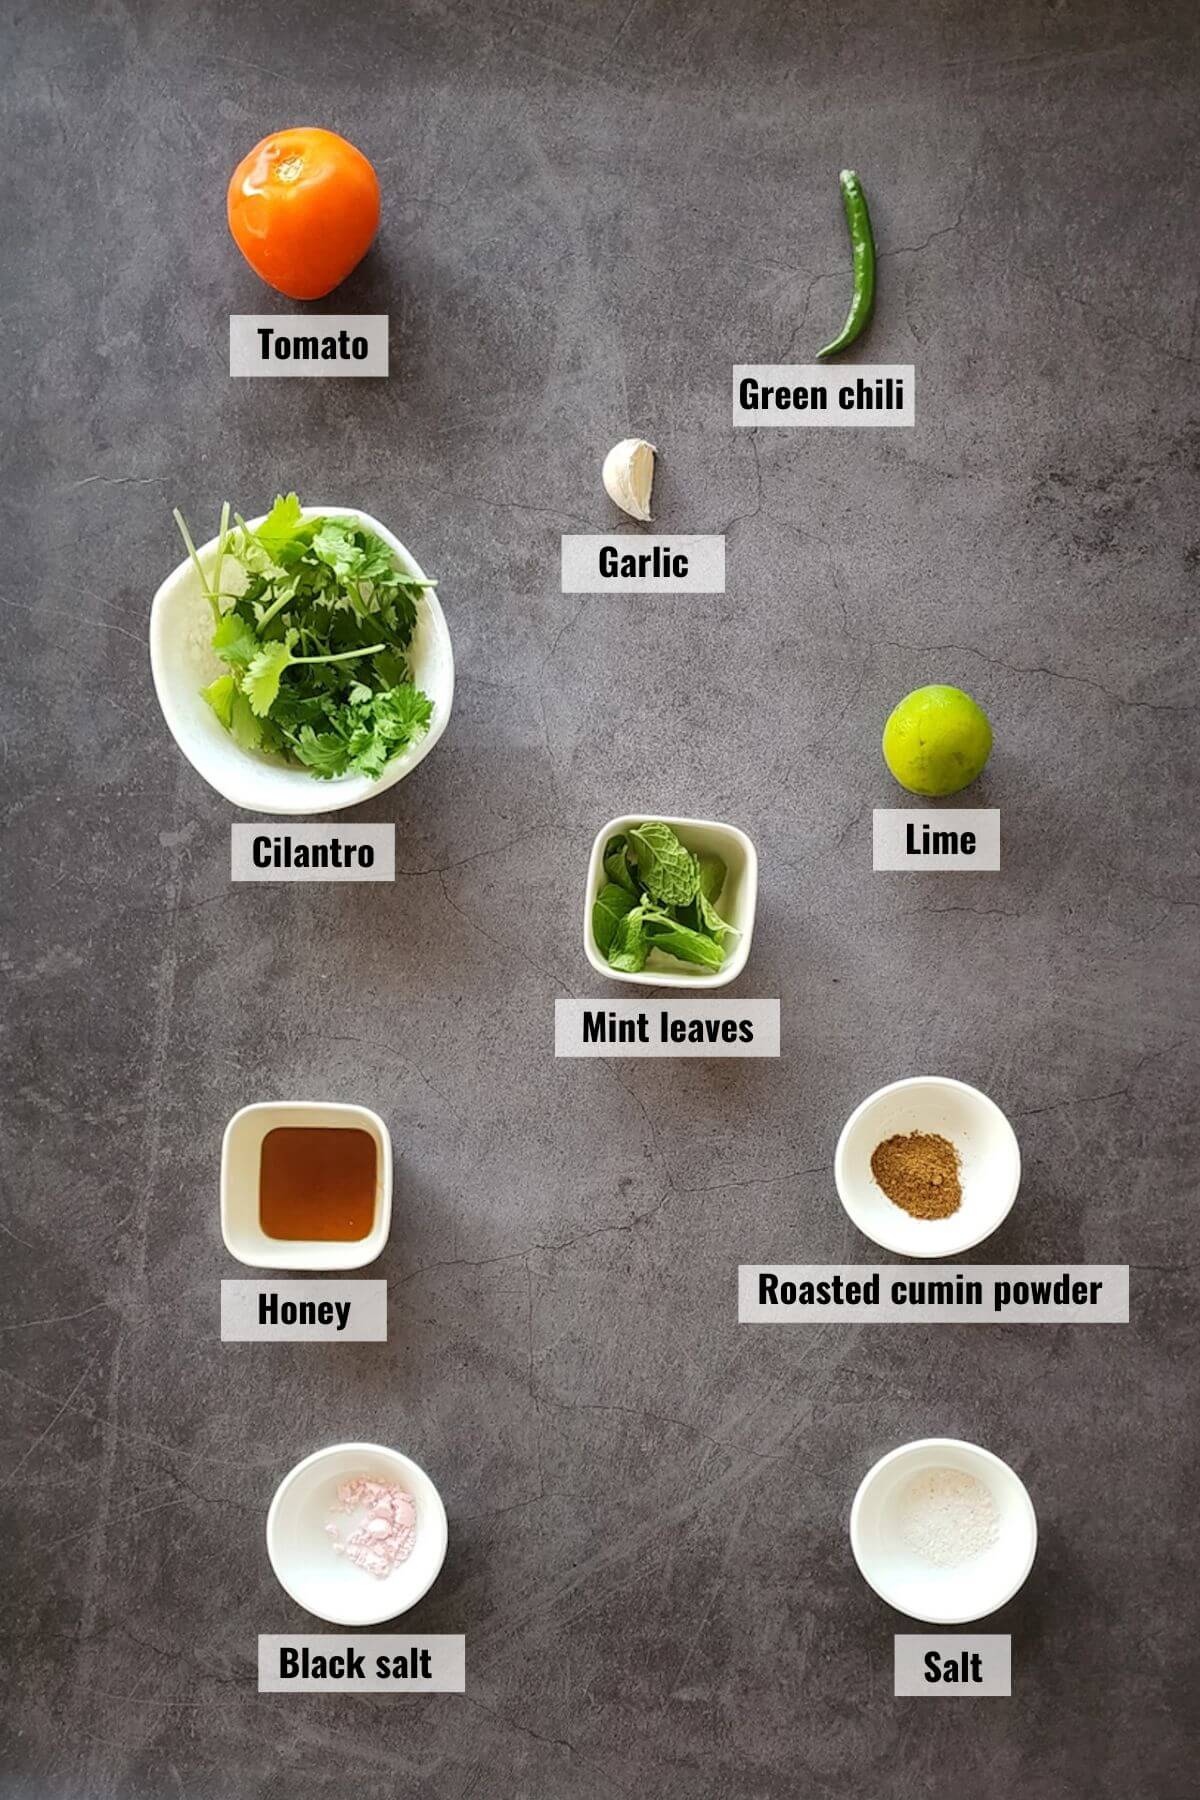
2. Ingredients needed to make green chutney dressing:
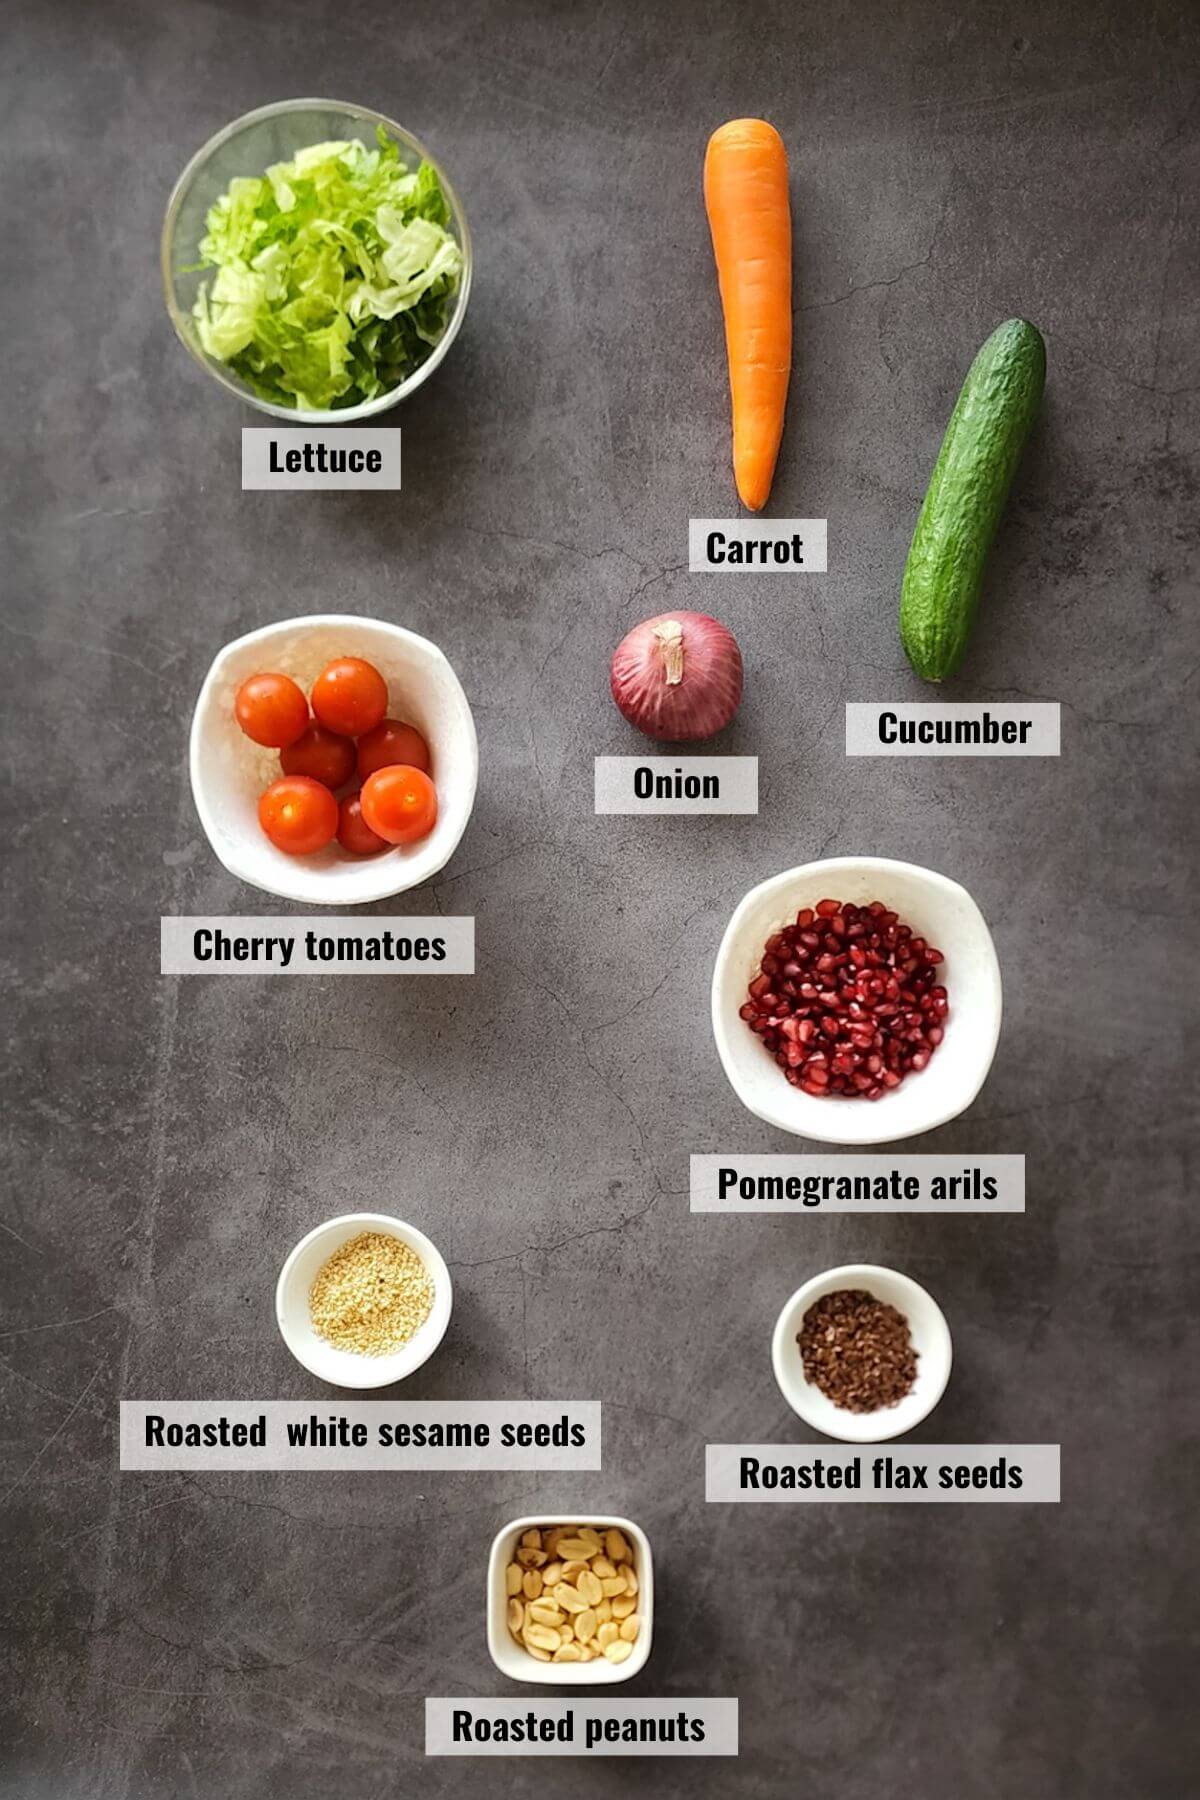
3. Other ingredients needed to make paneer salad:
Ingredient notes and substitute suggestions
- Paneer: Try using fresh paneer, it's creamier and sweeter.
- Honey: You can also use sugar, agave syrup, or any sweetener of your choice. It balances all the other flavors of chutney.
- Roasted cumin powder: Don't use regular cumin powder as it tastes quite different from roasted cumin powder. To make it, you can dry roast regular cumin powder in a pan stirring continuously until it turns fragrant. It will take a few seconds only. You can also dry roast cumin seeds and then ground them to make this powder.
- Black salt: It's a very pungent rock salt used in many recipes in the Indian subcontinent. It's easily available in Indian grocery stores and online too. However, if you can't find it, use regular table salt only.
- Vegetables and greens: I have used a carrot, cucumber, cherry tomatoes, onion, and lettuce. Feel free to use the vegetables and greens of your choice.
- Nuts and seeds: If you are allergic to nuts, skip them. You can also use other nuts and seeds of choice like walnuts, almonds, pistachios, pine nuts, pumpkin seeds, sunflower seeds, etc. Dry roast them before using in the salad. Roasting makes them tastier and crunchier.
How to make (step by step process)?
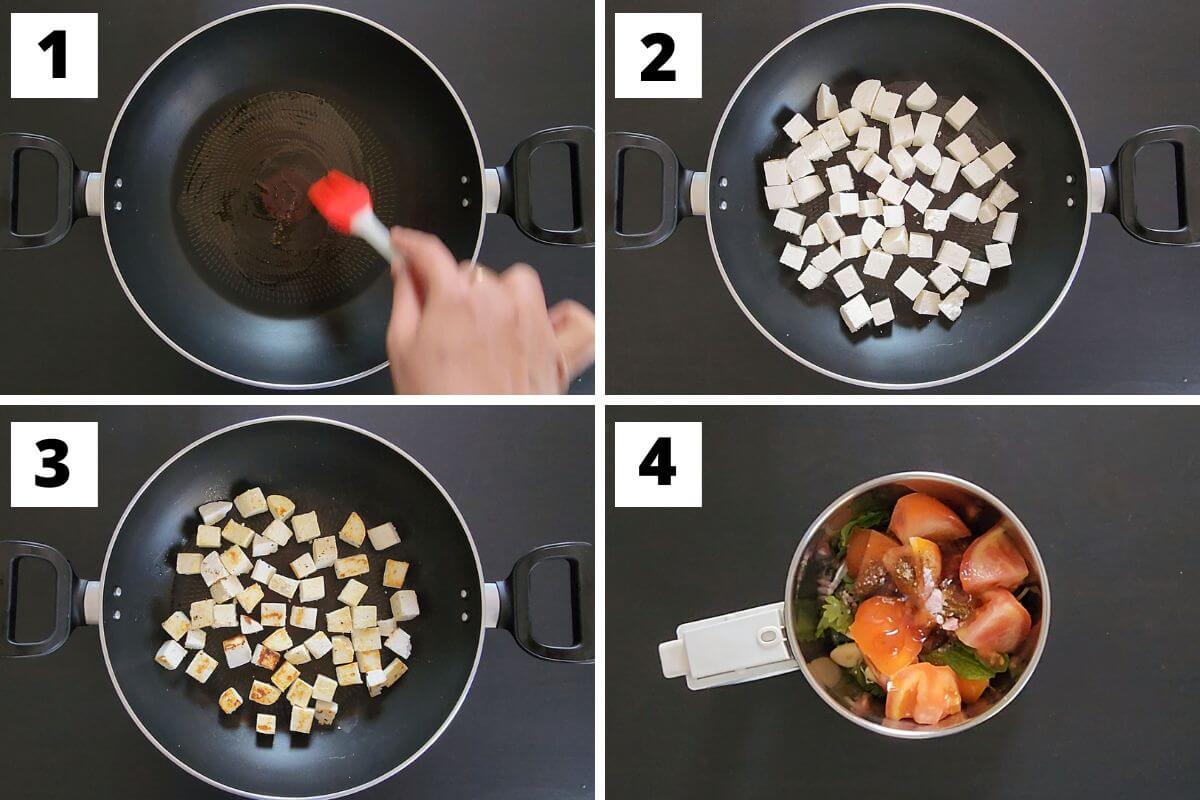
Step 1: Heat a large pan. Brush it with some cooking oil.
Step 2: Spread paneer cubes on the pan in a single layer. Sprinkle some salt and ground black pepper.
Step 3: Cook until the paneer cubes start getting brown patches then toss them over and cook the other side too for 3-4 minutes.
Step 4: Put roughly chopped tomato, garlic, green chili, cilantro, mint leaves, honey, lime juice, regular salt, black salt, and roasted cumin powder in a grinding jar.
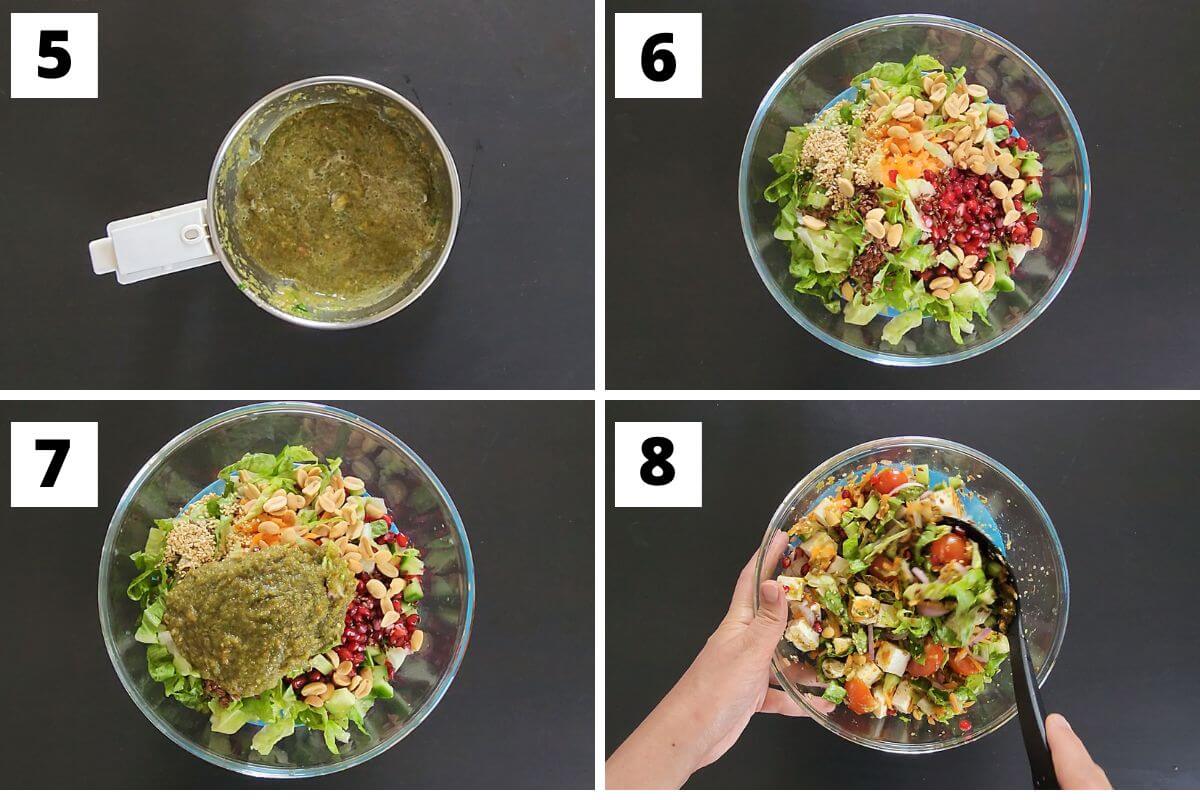
Step 5: Pulse to make a paste. You may add some water or oil if the paste is too thick for the dressing.
Step 6: Put all the remaining ingredients in a large bowl.
Step 7: Pour green chutney on top.
Step 8: Gently toss until everything gets mixed well.
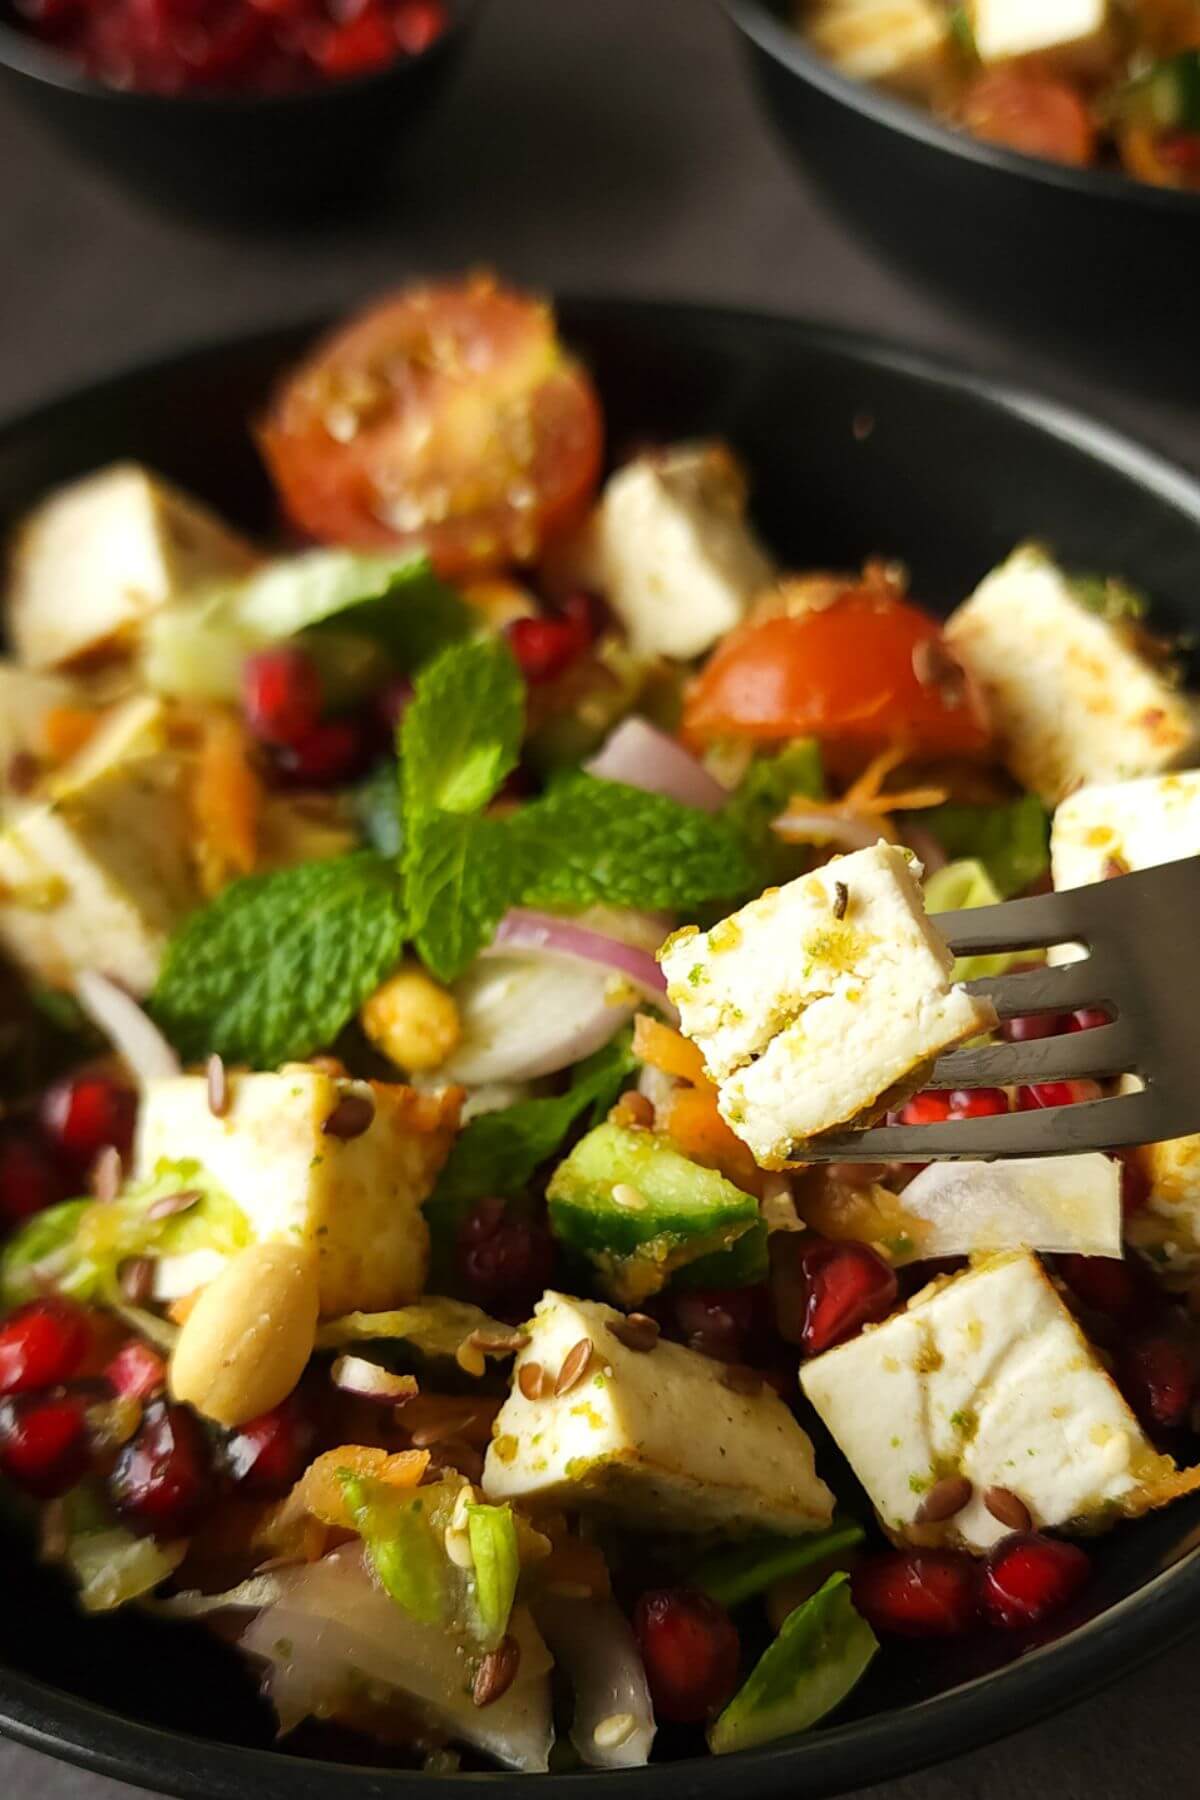
Your flavorful Indian paneer salad is ready to be enjoyed!
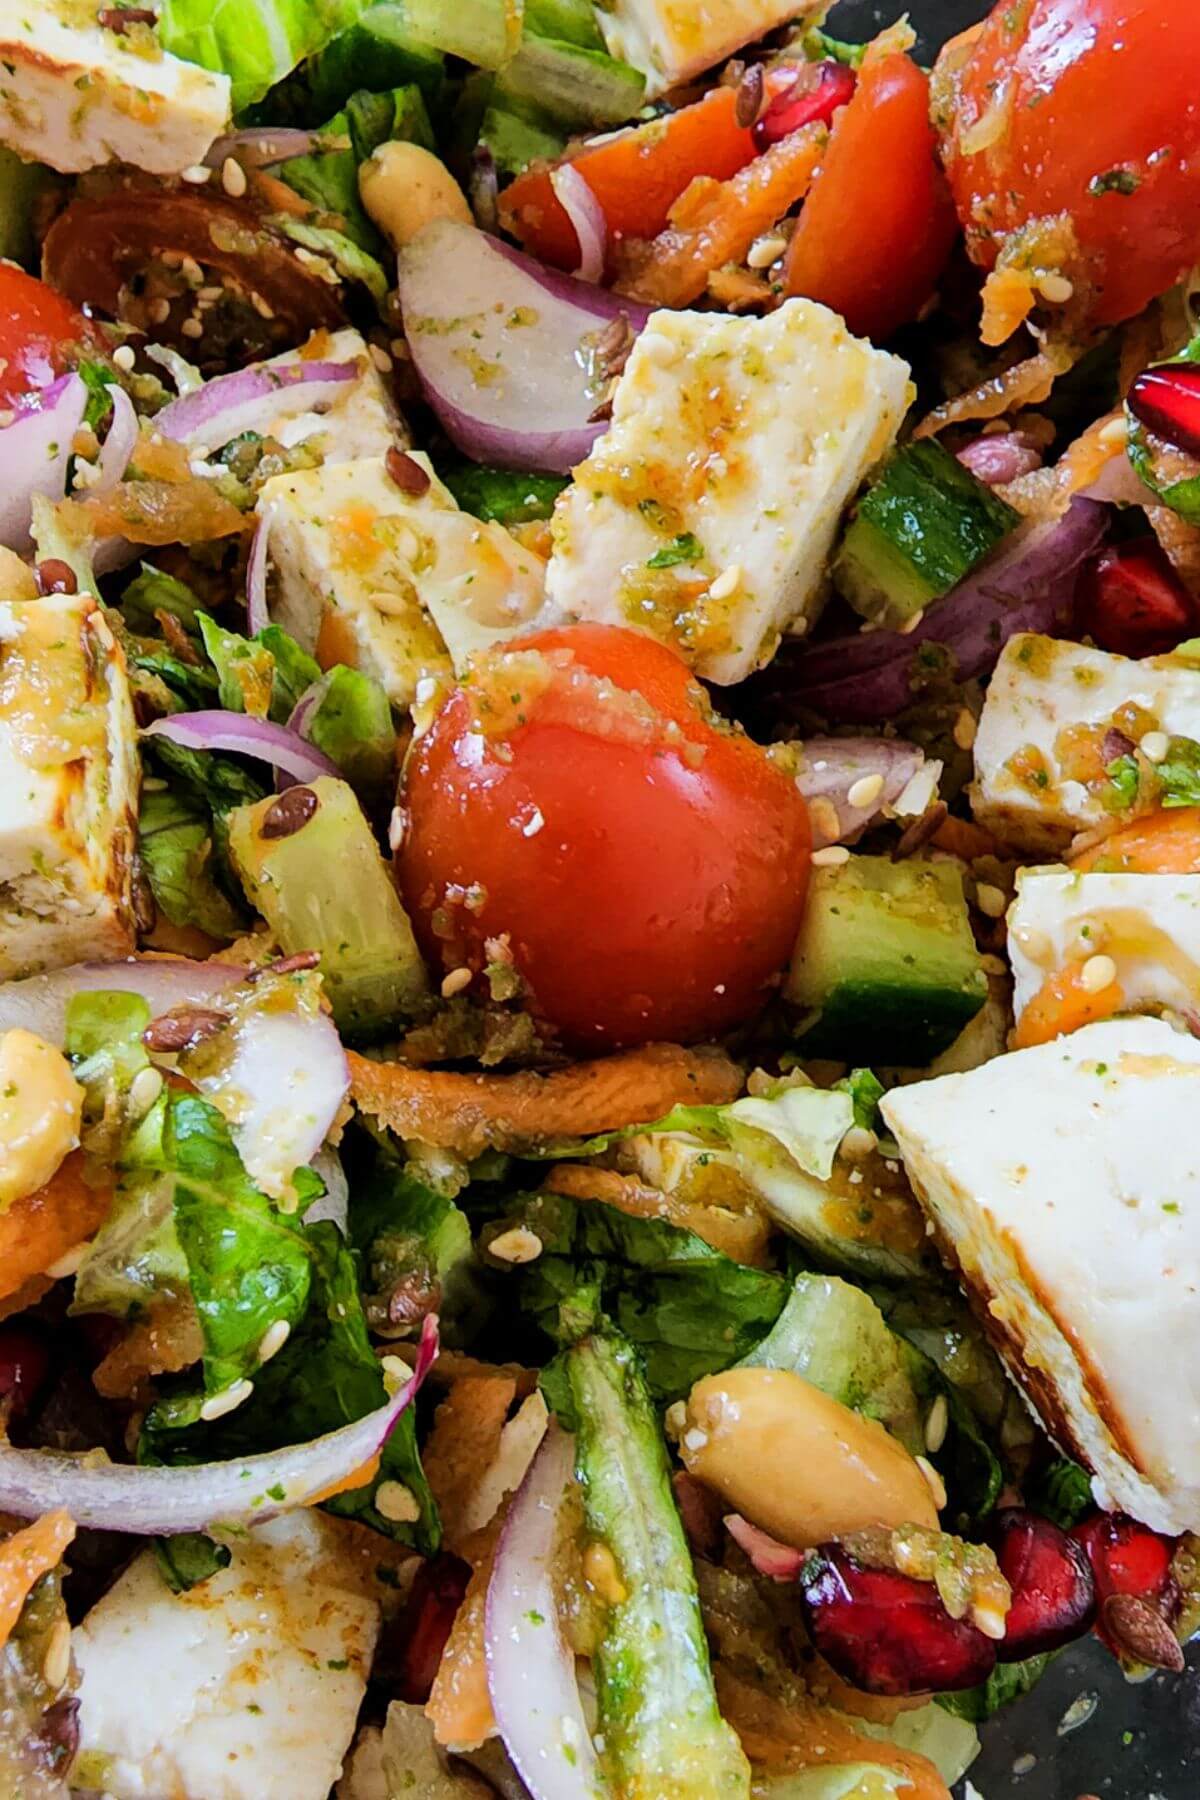
How to serve?
Serve it at room temperature as a side dish with any meal.
This hearty paneer salad can also be enjoyed as a meal itself.
You can also stuff it in wraps to make a healthy vegetarian paneer wrap. It can be added to sandwiches too.
Storing and making ahead tips
To store the leftovers, transfer them to an airtight container. Consume it within 2 days. Add a few tablespoons of olive oil to the dressing, if you are planning to store it.
If you want to store for a longer period, saute paneer cubes and store them in the fridge in an airtight container for up to a week. Refrigerate chutney separately in an airtight jar or container for a week too.
When you want to enjoy the salad just chop the vegetables, add sauteed paneer, chutney, and all the remaining ingredients. Toss and enjoy!
Don't freeze paneer salad.
Recipe tips and tricks
- Don't overcook paneer otherwise, it will turn chewy.
- Try using fresh paneer to make this salad. However, if you could not find fresh paneer, use frozen paneer. Just soak the frozen paneer in hot water for around 20 minutes and then strain before sauteeing.
- After washing the vegetables, pat them dry to ensure there is no water left in them.
- While sauteeing toss the paneer cubes gently so that they don't break.
- If you want to preserve this salad for more than a day, add a few tablespoons of olive oil to the dressing.
- Add table salt carefully and only if required because we have added black salt too.
- You can also add corn kernels and bean sprouts to this paneer salad.
- If you serve this paneer salad as a side dish, it will serve around 5 people. However, if you want to enjoy it as a meal it will be enough for 2-3 people only.
Frequently asked questions
No, paneer is a non-melting cheese.
There could be two reasons for this. Either the paneer you used was not fresh or you overcooked it. To avoid it use good quality, fresh paneer. Homemade paneer gives the best result. Also, don't overcook the paneer cubes.
Yes, if you prefer the taste of raw paneer, there is no need to sautee it.
Yes, to make a vegan version of this salad, use medium firm tofu instead of paneer.
More paneer recipes
Looking for more easy paneer recipe ideas? Don't miss checking the following links:
More Indian salad recipes
If you liked this recipe and want to try more Indian salad recipes then the following links are worth checking:
If you liked this recipe, please leave a star rating ⭐⭐⭐⭐⭐ in the recipe card below. You can also follow me on Instagram, Youtube, and Pinterest.
Recipe

Paneer salad
Equipment
Ingredients
Ingredients for sauteeing paneer
- 400 grams paneer cut into bite size cubes
- Salt to taste
- ⅛ teaspoon Ground black pepper adjust to taste
- 1 teaspoon any neutral flavored cooking oil of choice
Ingredients for tomato mint chutney dressing
- 1 medium-sized tomato roughly chopped
- A handful of fresh cilantro leaves roughly chopped
- 7-8 mint leaves roughly chopped
- 1-2 green chilies roughly chopped
- 1 garlic clove roughly chopped
- 1.5 tablespoons lime juice adjust to taste
- ½ tablespoon honey
- ½ teaspoon roasted cumin powder
- ¼ teaspoon black salt
- Regular table salt to taste
Other ingredients required
- 1 red onion thinly sliced
- ½ cup cherry tomatoes cut into half
- 1 medium-sized cucumber chopped (around 1 cup)
- 1 medium-sized carrot shredded (around ½ cup)
- 1 cup roughly chopped lettuce
- ½ cup pomegranate arils
- 2 tablespoons roasted peanuts
- 1 tablespoon roasted flax seeds
- 1 tablespoon roasted white sesame seeds
Instructions
- Heat a large pan or cooking pot with a flat base on the stovetop. Brush it with some cooking oil.
- Spread paneer cubes on the pan, in a single layer. Leave them on the pan for a few minutes. Once the paneer cubes start getting brown patches on one side, gently flip them over. Cook the other side too for another 3-4 minutes or until they too get brown patches. Switch off the stove and keep the sauteed paneer cubes aside.
- Put all the ingredients for dressing in a chutney or grinding jar and make a paste. Check and adjust the seasoning.
- Take a large bowl and put sauteed paneer cubes into it. Add all the remaining salad ingredients and pour the dressing on top.
- Gently toss. Check and adjust the seasoning.
Video
Notes
- Don't overcook paneer otherwise, it will turn chewy.
- Try using fresh paneer to make salad. However, if you could not find it, use frozen paneer. Just soak it in hot water for around 20 minutes and then strain before sauteeing.
- While sauteeing toss the cubes gently so that they don't break.
- If you want to preserve this salad for more than a day, add a few tablespoons of olive oil to the dressing.
- Add table salt carefully and only if required because we have added black salt too.
- If you serve this paneer salad as a side dish, it will serve around 5 people. However, if you want to enjoy it as a meal it will be enough for 2-3 people only.
- More recipe-related tips and tricks are shared in the post above, please follow them to make this recipe.


Leave a Reply